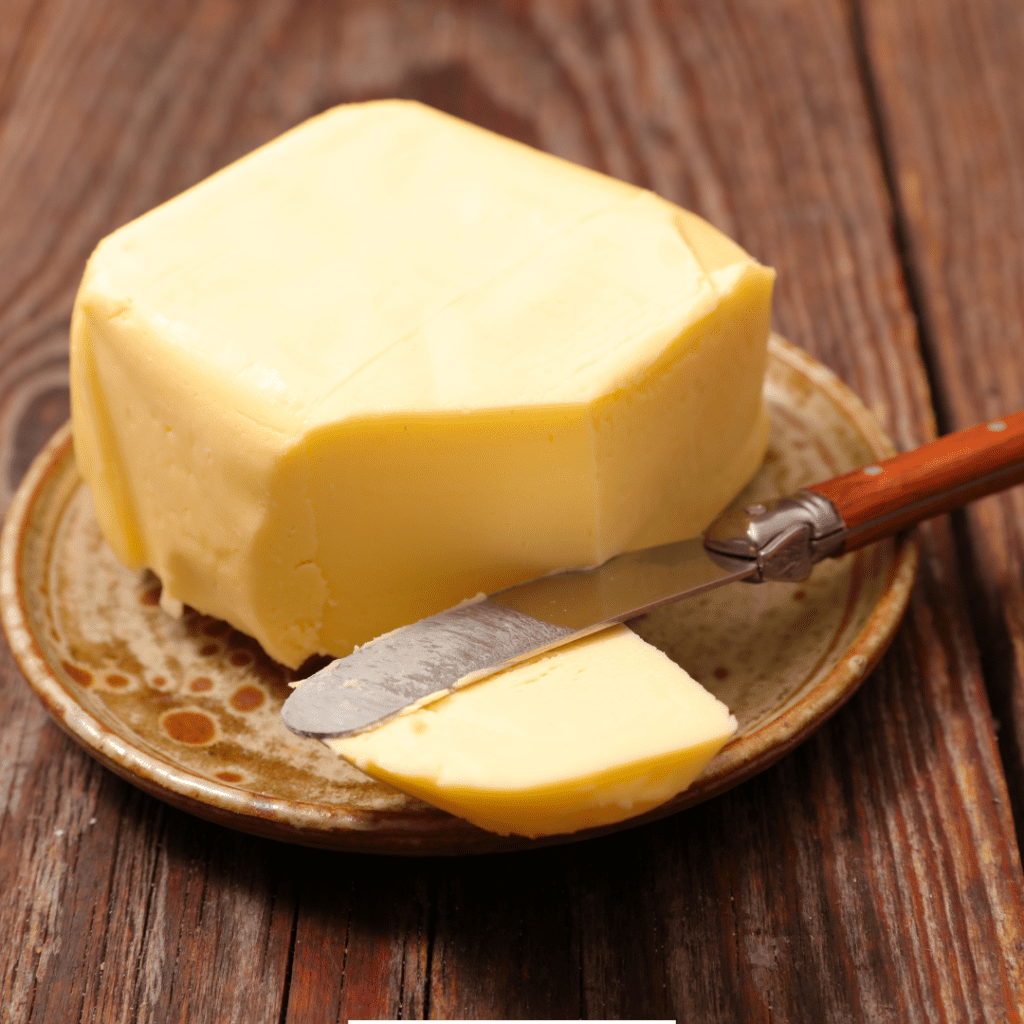
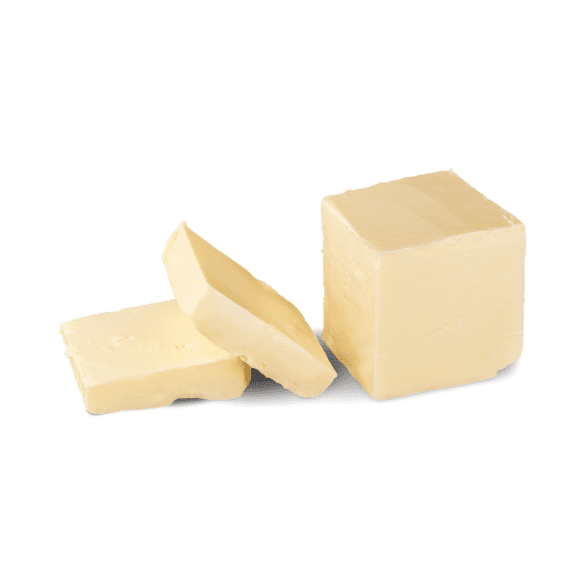
Turning a humble pint of heavy cream into a golden chunk of homemade butter is both a delightful kitchen experiment and a nod to the simplicity of old-world techniques. If you’ve ever gazed at a bottle of heavy cream in your fridge and wondered, “What else could I make with this?” or you’re just itching to dive hands-first into the world of DIY dairy, you’re in the right place.
How to Make Butter From Heavy Cream
Making butter from heavy cream is a simple process that involves churning the cream to separate the butterfat from the buttermilk.
Ingredients:
- 1 pint (2 cups or 473 ml) of high-quality heavy cream, preferably organic and not ultra-pasteurized, as fresher cream with more natural bacteria will churn into butter more easily.
- Ice water (optional for rinsing the butter)
- A pinch of salt (optional for flavoring)
Equipment:
- A large bowl or stand mixer with a whisk attachment
- A spatula
- Cheesecloth or a clean dish towel
- A small bowl for collecting buttermilk
- A container for storing the butter
Instructions:
- Pour and Prep: Begin by taking your heavy cream out of the fridge. It should be very cold. Pour the heavy cream into your large bowl or the bowl of your stand mixer.
- Whipping: Using a hand or stand mixer fitted with the whisk attachment, begin whipping the cream at medium speed. After a few minutes, the cream will thicken and form stiff peaks similar to whipped cream.
- Watching for Separation: Continue mixing past the whipped cream stage. This is where magic starts to happen. The cream will start to clump, and yellow bits will form. These are the fat particles clumping together. You’ll also notice liquid starting to separate; this is buttermilk.
- Full Separation: Keep whipping the cream until the butter solids have fully separated from the buttermilk. The mixture should look grainy, with small butter particles surrounded by milky liquid.
- Drain Buttermilk: Once the butter has separated, pour the mixture over a cheesecloth or clean dish towel set over a bowl to catch the buttermilk (don’t throw it away – it’s great for baking!).
- Rinse the Butter: After you’ve drained most of the buttermilk, you can rinse the remaining butter solids with ice-cold water. This helps to wash out any remaining buttermilk, which can spoil quickly and shorten the butter’s shelf life.
- Knead and Squeeze: Gather the cheesecloth or towel around the butter and squeeze out as much liquid as possible. Knead it like dough to further expel the liquid. Repeat rinsing and kneading a few times until the water runs clear.
- Flavoring (Optional): If you want salted butter, work a pinch of salt into the butter.
- Shape and Store: Now, shape the butter into a block or any form you prefer. Place it into a container with a lid or wrap it in wax paper. Store the butter in the refrigerator or freeze for longer storage.
Tips:
- Temperature Matters: The heavy cream should be very cold to start with, which will make the butter-making process more efficient.
- Don’t Overdo Salt: If you decide to add salt, do it sparingly at first. You can always mix in a bit more if needed.
- Preserve Buttermilk: The resulting buttermilk can be used for making pancakes, waffles or other baked goods. Store it in the fridge and use it within a few days.
- Let The Machines Work: If you have a stand mixer, it does the heavy lifting for you. Using a hand mixer is also possible but may require more effort and time.
- Patience Is Key: The process can take anywhere from 5 to 10 minutes, depending on your mixer and the fat content of the cream. Be patient; it will separate.
- Customize Your Butter: Get creative by adding herbs, honey, or even roasted garlic to make flavored butter perfect for various dishes.
Ingredients Substitutes

Making butter from heavy cream is a straightforward process, with heavy cream being the primary ingredient. However, if you’re exploring alternatives or need a substitute due to dietary restrictions or availability, it’s helpful to understand your options and how they impact the butter-making process.
Light Cream or Half-and-Half:
Substitute: While heavy cream, with its high-fat content (about 36-40%), is ideal for making butter, you can use light cream or half-and-half (which have lower fat contents, around 18-30% and 10-18% respectively).
Outcome: These substitutes will result in a lower yield of butter because they contain less fat. The butter might be softer and more spreadable due to the lower fat content.
Sour Cream:
Substitute: Sour cream, particularly full-fat sour cream, can also be used as a base for making butter, especially if you’re looking for a tangier flavor profile.
Outcome: The process might take longer, and the resulting butter could have a slightly tangy taste. It’s an interesting variant but might not suit all palates or recipes.
Coconut Cream:
Substitute: For a dairy-free, vegan alternative, coconut cream can be used. Ensure to use full-fat coconut cream for the best results.
Outcome: This will yield a coconut-flavored, vegan butter. It’s important to note that coconut butter will be softer at room temperature and harden when refrigerated, which might affect its use in some recipes.
Vegan Heavy Cream Alternatives:
Substitute: There are several plant-based heavy cream alternatives on the market made from soy, almonds, cashews, or coconut. These can be tried for making vegan butter.
Outcome: The resulting vegan butter will vary in texture and taste based on the base ingredient (e.g., almond vs. coconut). They generally yield a softer butter, and the flavor will reflect the primary ingredient.
Final Thoughts
By following these detailed steps, you will have your own freshly made butter from heavy cream and gain a deeper appreciation for the simple yet transformative culinary processes that have nourished generations.

Ingredients
- 1 pint (2 cups or 473 ml) of high-quality heavy cream
- Ice water (optional for rinsing the butter)
- A pinch of salt (optional for flavoring)
Instructions
- Pour and Prep: Begin by taking your heavy cream out of the fridge. It should be very cold. Pour the heavy cream into your large bowl or the bowl of your stand mixer.
- Whipping: Using a hand or stand mixer fitted with the whisk attachment, begin whipping the cream at medium speed. After a few minutes, the cream will thicken and form stiff peaks similar to whipped cream.
- Watching for Separation: Continue mixing past the whipped cream stage. This is where magic starts to happen. The cream will start to clump, and yellow bits will form. These are the fat particles clumping together. You’ll also notice liquid starting to separate; this is buttermilk.
- Full Separation: Keep whipping the cream until the butter solids have fully separated from the buttermilk. The mixture should look grainy, with small butter particles surrounded by milky liquid.
- Drain Buttermilk: Once the butter has separated, pour the mixture over a cheesecloth or clean dish towel set over a bowl to catch the buttermilk (don't throw it away – it's great for baking!).
- Rinse the Butter: After you've drained most of the buttermilk, you can rinse the remaining butter solids with ice-cold water. This helps to wash out any remaining buttermilk, which can spoil quickly and shorten the butter's shelf life.
- Knead and Squeeze: Gather the cheesecloth or towel around the butter and squeeze out as much liquid as possible. Knead it like dough to further expel the liquid. Repeat rinsing and kneading a few times until the water runs clear.
- Flavoring (Optional): If you want salted butter, work a pinch of salt into the butter.
- Shape and Store: Now, shape the butter into a block or any form you prefer. Place it into a container with a lid or wrap it in wax paper. Store the butter in the refrigerator or freeze for longer storage.
